A personnel label contains the basic details of a personnel member and can be used, for example, to stick onto a picking card.
This way, the necessary personnel details are quickly available on the document used during the harvest.
Step 1 - Open the Time keeping tile
Open the Time keeping tile on the dashboard.
Step 2 - Open the personnel overview
Click Staff on the left-hand side of your screen and then open Overview.
You will now see an overview of all personnel members that have been created in your environment.
Step 3 - Choose Label under Print
Click Print at the top of the overview.
Then choose Label.
Step 4 - Select the personnel members
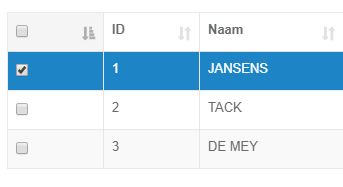
Tick the personnel members for whom you want to print a label.
Do you want to select all personnel members shown in the overview? Then use the checkbox at the top of the list.
Step 5 - Print the labels
Check that the correct personnel members are selected and click the green Print button.
A new tab will open with the labels. From this screen, you can print the labels.