A staff label contains the basic details of a staff member and can be used, for example, to stick on a picking card.
This means that the required staff details are quickly available on the document used during the harvest.
Step 1 - Open the Time Registration module
On the home page of your environment, click Modules on the left-hand side. The various modules will then appear as green tiles.
Click the Time Registration tile.
The Staff overview then opens by default, showing an overview of all staff members.
Step 2 - Labels
Click Print at the top of the overview.
Then select Label.
Step 3 - Select staff members
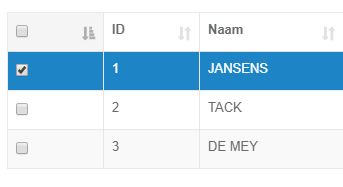
Tick the staff members for whom you want to print a label.
Do you want to select all staff members shown in the overview? Use the selection box at the top of the list.
Step 4 - Print
Check that the correct staff members have been selected and click the green Print button.
A new tab will open with the labels. You can print the labels from this screen.