Step 1 - Open the Time Registration module
On the homepage of your environment, click Modules on the left-hand side. The different modules will then appear as green tiles.
Click the Time Registration tile.
Click Activities on the left-hand side of your screen.
Step 2 - Open the activity
Find the activity for which you want to set working hours.
In the Actions column, click the blue Details button.
Step 3 - Edit the activity
Click the orange Edit button in the top right-hand corner of the details screen.
Step 4 - Add working hours
On the right-hand side of the screen, you will find the section for working hours. If you have already added working hours to another activity, you can copy them by selecting that activity from the drop-down menu.
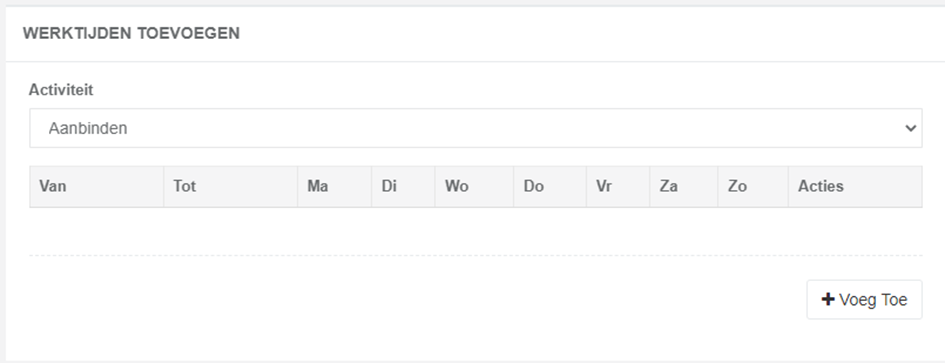
Click + Add to set a new working period.
Step 5 - Enter the working hours
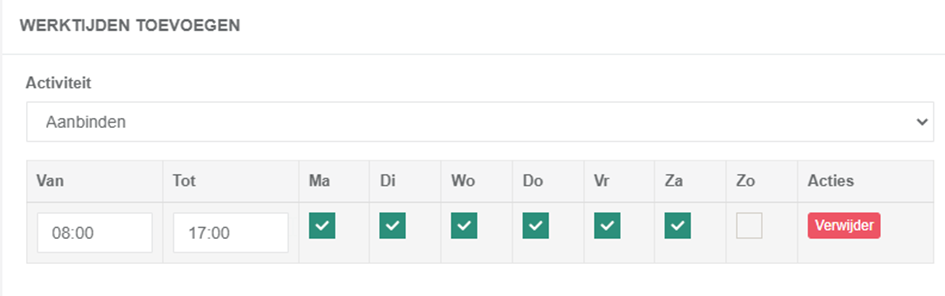
Enter the desired start and end times.
Then tick the days to which these working hours apply.
Step 6 - Save the activity
Check that the working hours and selected days have been entered correctly.
Then click Save at the bottom to save the changes.